If I was to tell you that this mod was the best thing I’ve done on my classic Ford Mustang Fastback, would you give it a go?
I’m about to show you the best suspension mod I’ve made to my classic Mustang to get it from this…
to driving like this…
When you click on links to various merchants on this site and make a purchase, this can result in this site earning a commission. Affiliate programs and affiliations include, but are not limited to, the eBay Partner Network.
As an Amazon affiliate, we may earn a small commission at no extra cost to you.
FIRST THINGS FIRST, WHAT IS THE MOD?
Right now I’m going to reveal all the secret sauce on this front suspension upgrade, and I’m going to explain to you you how you can HARNESS it on your Restomod Mustang.
And then I’m going to show you how doing this mod will give you FLEXIBILITY and OPTIONS for your ride.
But first…
I modded what 75% of builders usually remove. The SHOCK TOWERS.
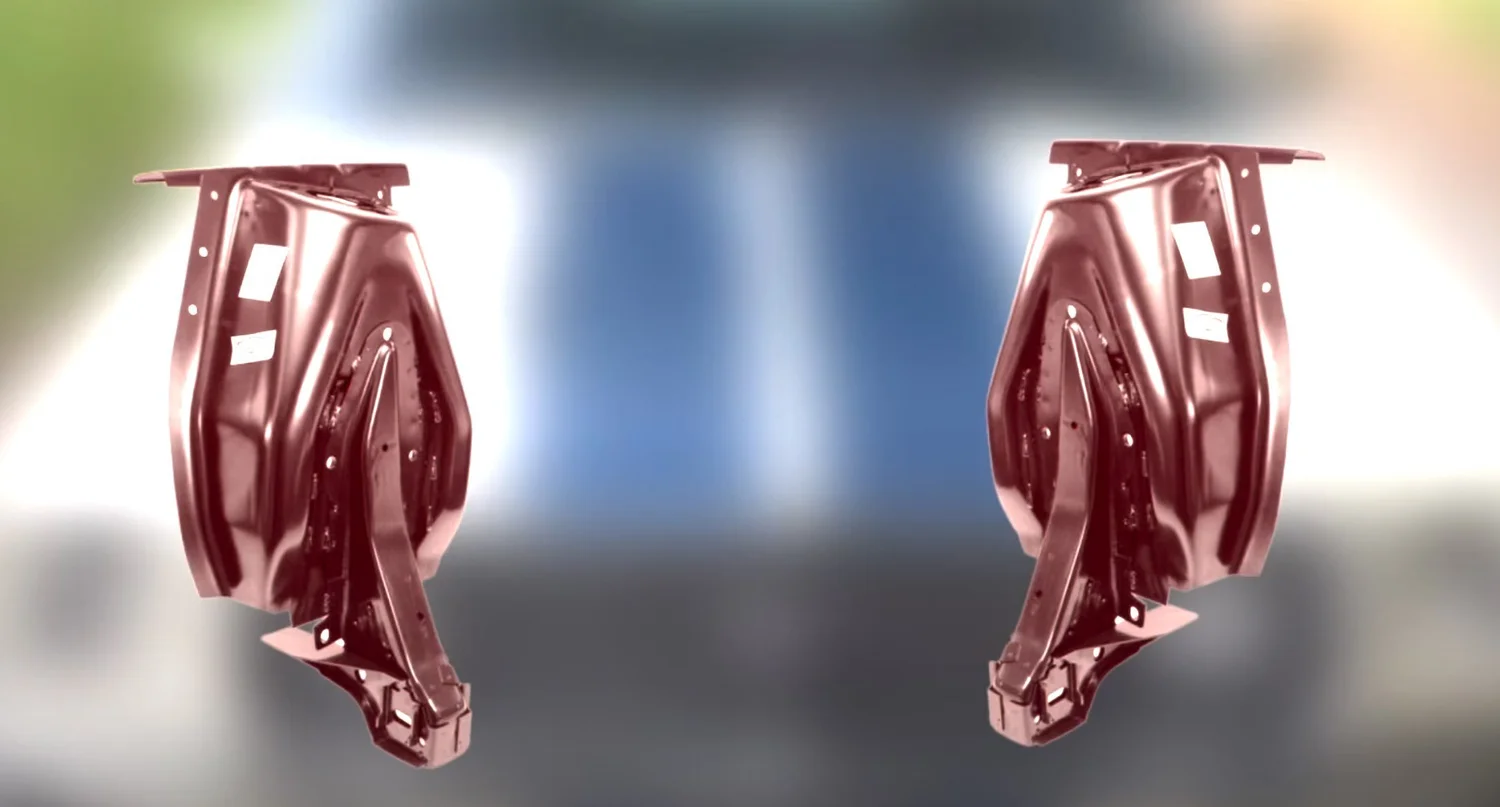
Builders typically remove the shock towers for the Mustang II suspension, in order to create the room they need in the engine bay. The route I took was the MacPherson strut style, which uses the existing shock tower but modifies it opening up much needed room in the engine bay for options.
WHY THE MACPHERSON STRUT SUSPENSION SYSTEM?
The MacPherson strut suspension has been around a while. Actually since the 1940s.
And it is used in cars like Porsche, BMW, Modern Mustang, and Camaro.
And this set-up can also be found in cars that hit the track often.
And from what I can tell, what usually drives the decision to use this system is its SIMPLICITY. And that was definitely the route I was looking for.
MCPHERSON VS. ORIGNAL FORD MUSTANG SUSPENSION FEATURES
MacPherson struts are completely independent front suspension systems, so they provide ample space for other parts.
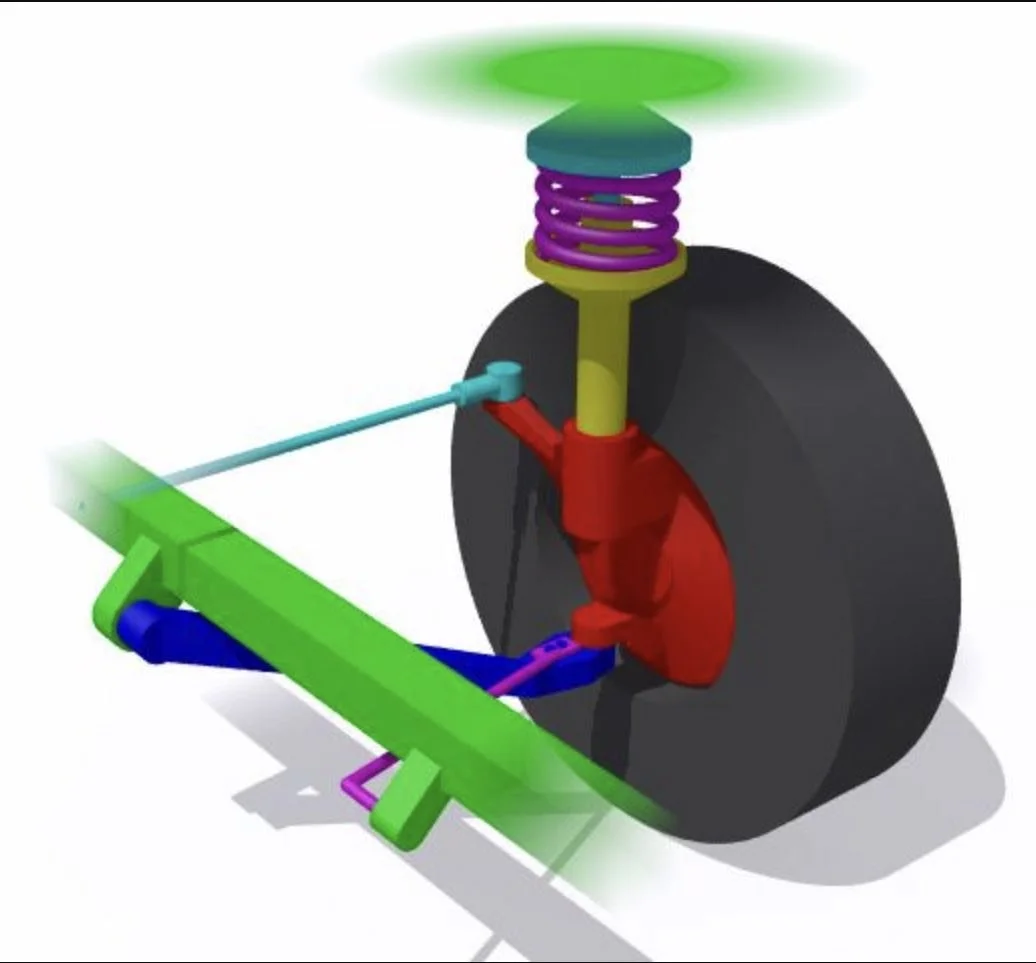
(By User Casito on en.wikipedia – Created by Casito. He releases the drawing to GDFL. POV-Ray source is available upon request, CC BY-SA 3.0, https://commons.wikimedia.org/w/index.php?curid=173790)
Let’s compare some of the suspension features:
– LEAF SPRINGS
The MacPherson system does not use leaf springs.
-SWAY BAR AND CONTROL ARMS
Both the first generation Mustang and the MacPherson suspension system use a sway bar and control arms. However, the MacPherson only uses one lower control arm, while the first generation Mustang used both upper control arms and lower control arms.
-STRUT RODS
Also, while the original Mustang suspension required strut rods, the MacPherson does not.
WHAT ARE THE ADVANTAGES OF THE MACPHERSON STRUTS?
Sure, there are ways to improve the stock suspension like a Shelby drop and roller spring perches.
But if you skip all that you will find the MacPherson strut system provides:
- Simplicity of moving parts
- Lighter Weight
- Compact design
- Adjustability
- After market late model parts availability
- Smooth ride quality, due to increased travel of the coil springs
- Ride preference, due to coil overs
- Adjustable ride height
WHAT ARE THE 3 MAIN THINGS THAT YOU SHOULD FOCUS ON WHEN CHOOSING YOUR CLASSIC FORD MUSTANG’S FRONT SUSPENSION SYSTEM?
1. END GOAL
Do you want a driver, racer, or weekend grocery getter?
If you don’t have a good idea on where you are going and you’re modding for modding’s sake, you probably won’t get there.
(Although modding for modding’s sake sounds pretty fun!)

2. ORIGINALITY
Are you ok with modifying your piece of history?
3. THE DRIVETRAIN
And this was the main driver that steered me this direction.
I chose this kit because it seemed flexible, and a wide variety of parts are available if I decided to change directions.
ASK YOURSELF:
WHAT KIND OF OPTIONS DO YOU WANT TO HAVE FOR YOUR ENGINE AND TRANSMISSION?
WHAT ARE THE SUSPENSION MOD STEPS?
Step 1. Metal removal
Step 2. Mock up and punch holes
Step 3. Assembly
Note: Don’t worry, a full parts list is down below at the end of the blog post, and you’ll also see links to the videos where I made the specific mods if you want to go further.
STEP 1: METAL REMOVAL
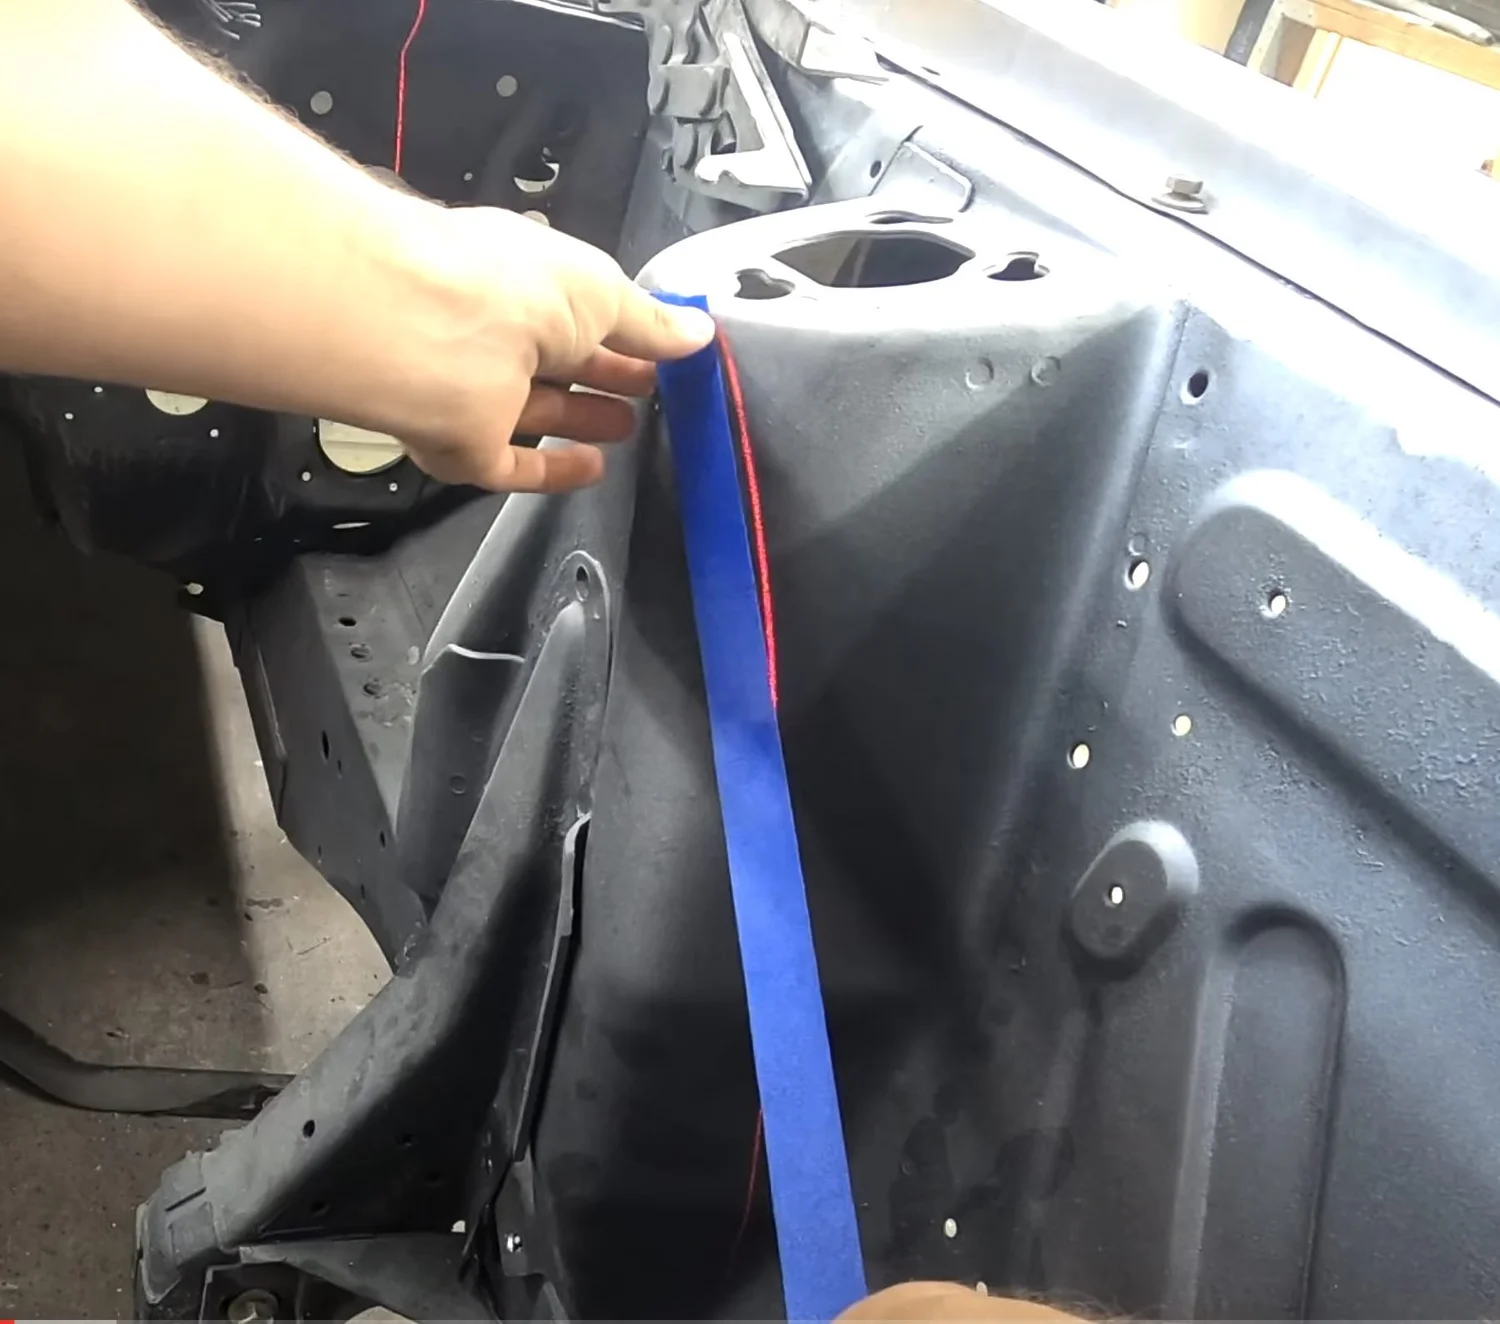
First, those shock towers needed some trimming because I wanted options. Using a laser level I was able to lock in a line that I liked then taped it off and well…began cutting.

There are also some spot welds I had to remove in order to get the shock tower bracing off. To install this kit you need to remove this stuff. The structure that held the original control arms can be removed as you can bring in a how new modern geometry. The front end will see “some” weight reduction however fractional that may be.
Now before all the people say “you ruined your classic Mustang” hold up. I welded reinforcements …which is a requirement by the way if you are modifying the shock tower. as the weight of the car rests there.

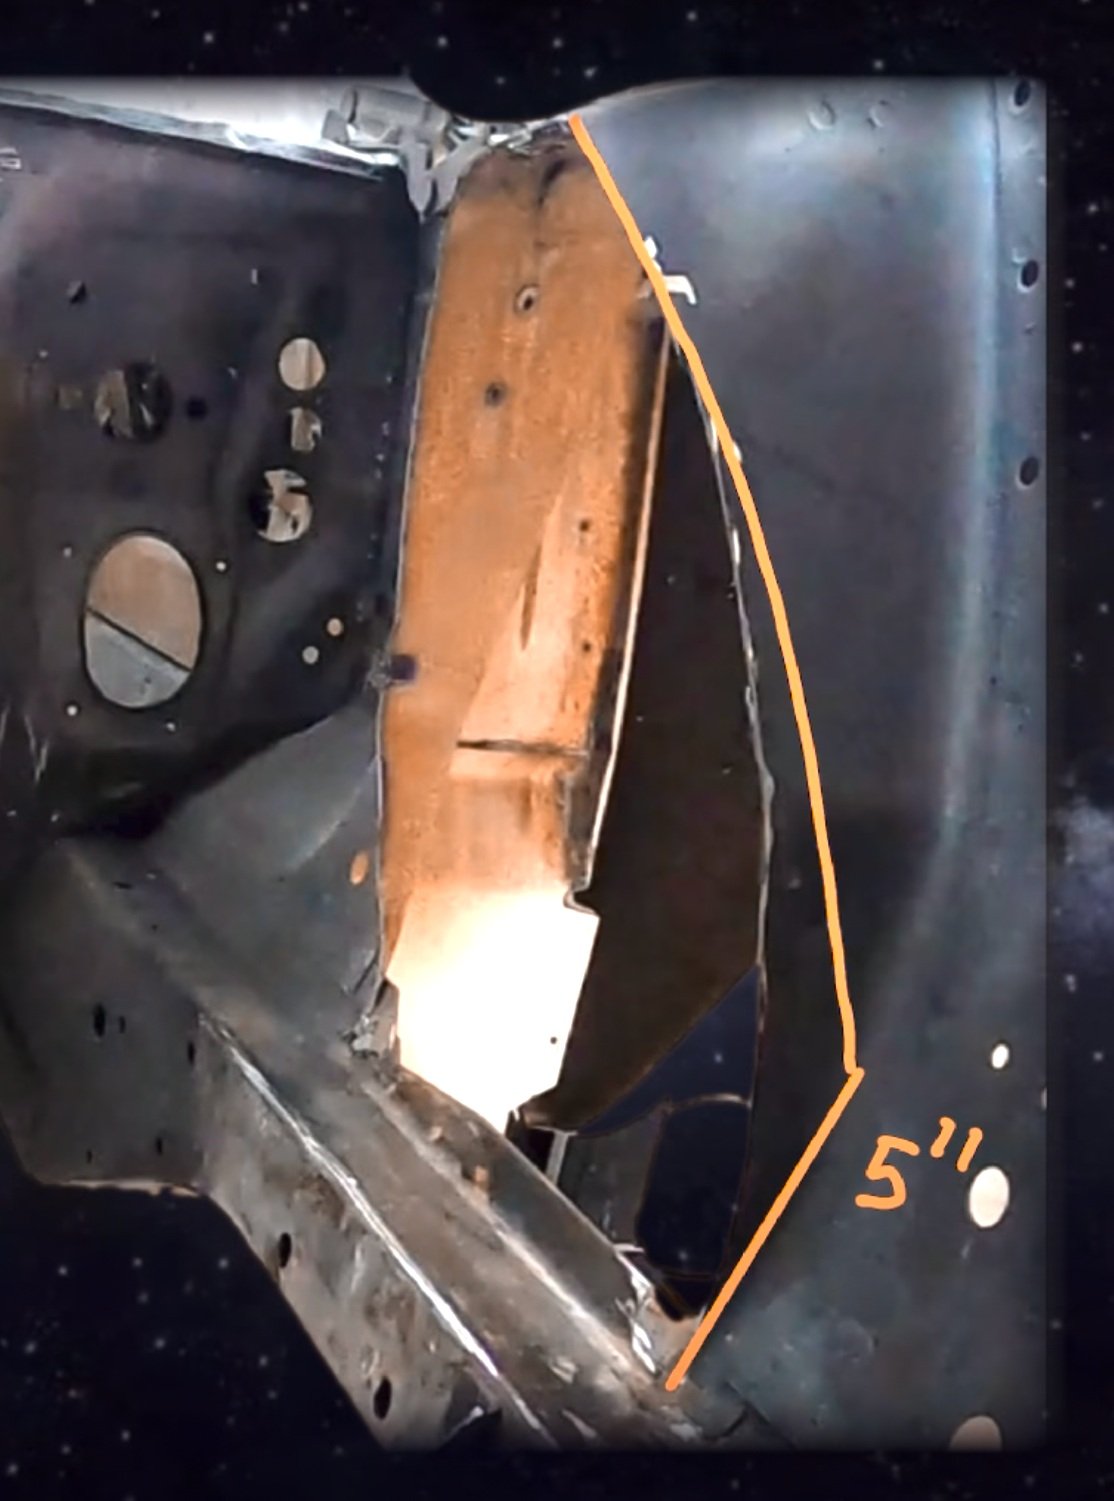
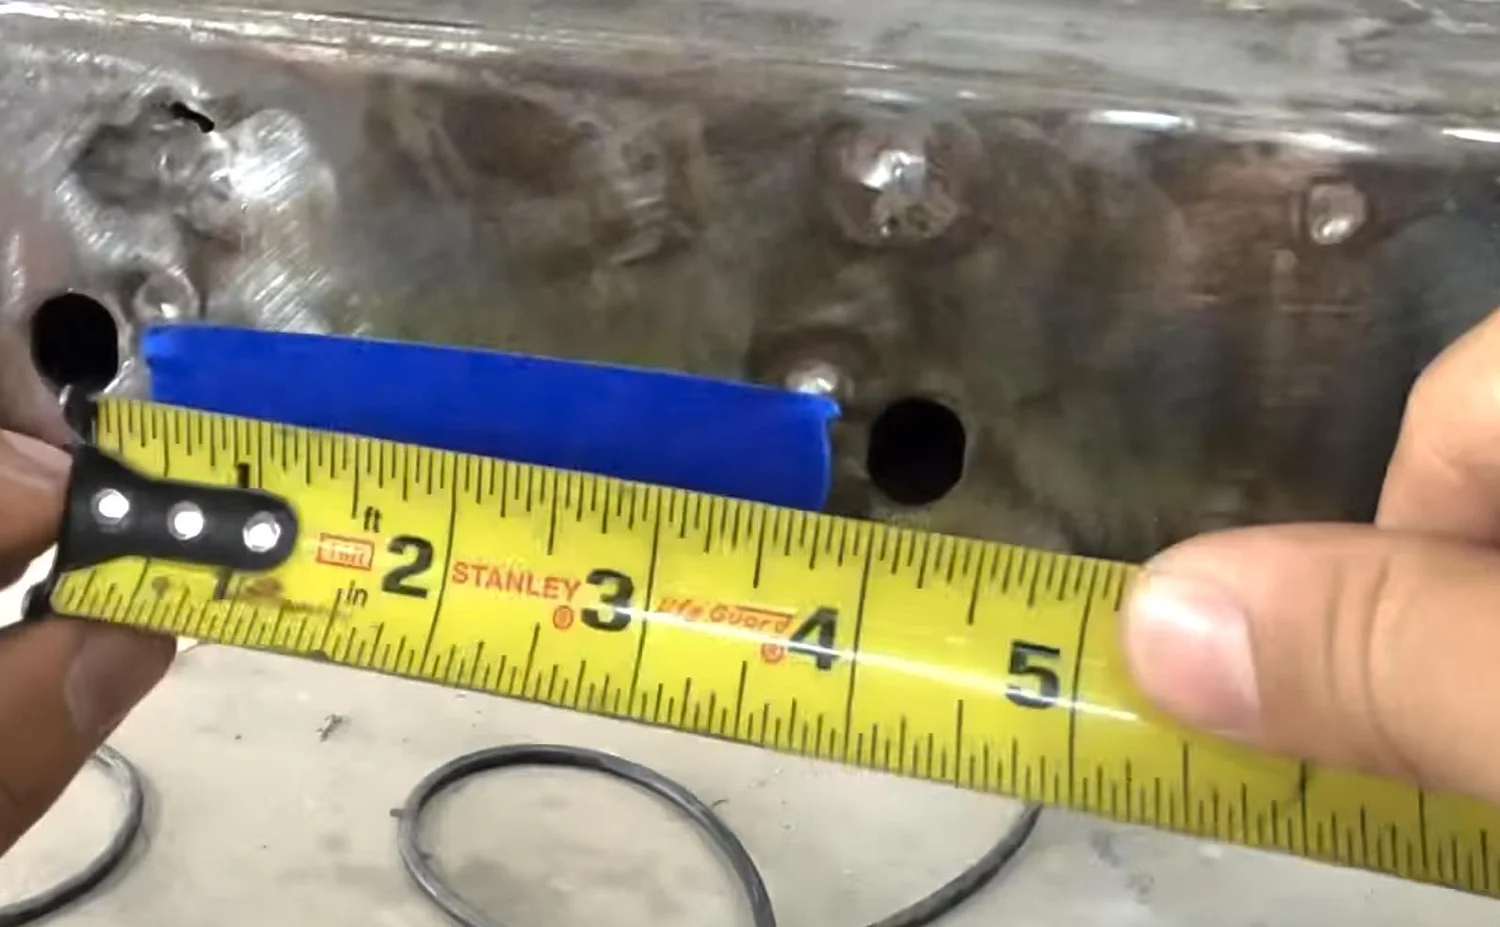
An alternative to going from frame to top is to measure ~5” up from the top of the frame and the jettison out to the top of the tower. This provides maximum room in the engine bay for headers turbos and other goodies and bits.
Take your time here…unlike cutting hair the metal doesn’t grow back…take your time. In fact, this is the most time consuming part of this mod.
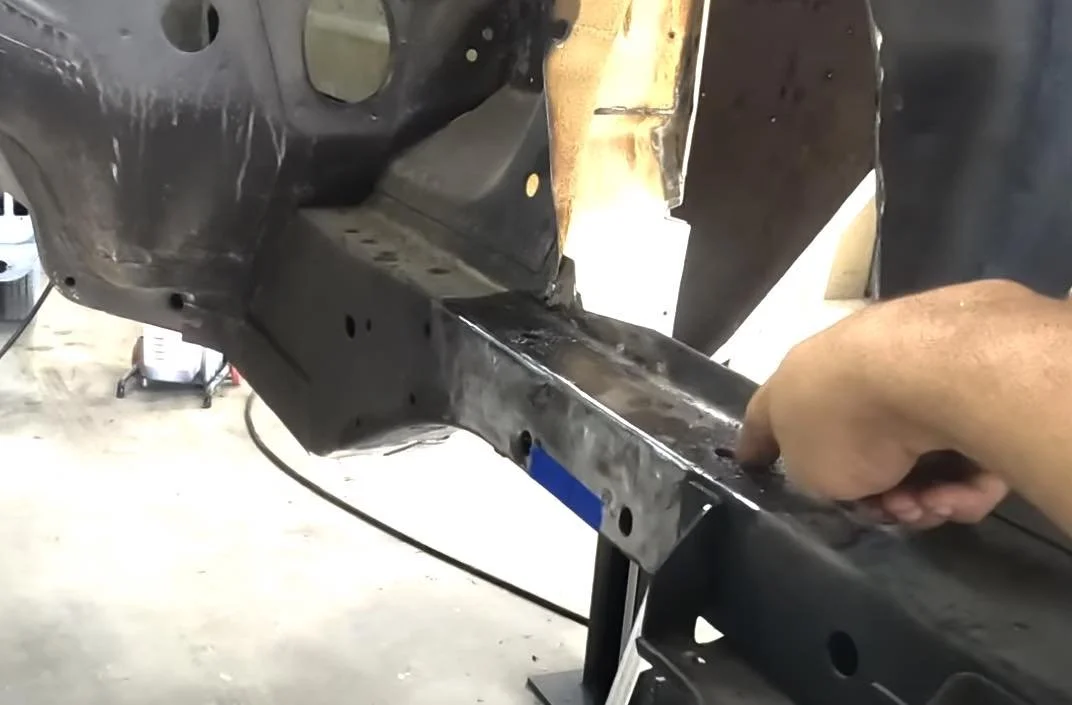
STEP 2: MOCK-UP AND PUNCH HOLES
Next it’s time to mock up the k member. You do this by finding center between the factory cut-out Holes and also finding center on your K member itself.
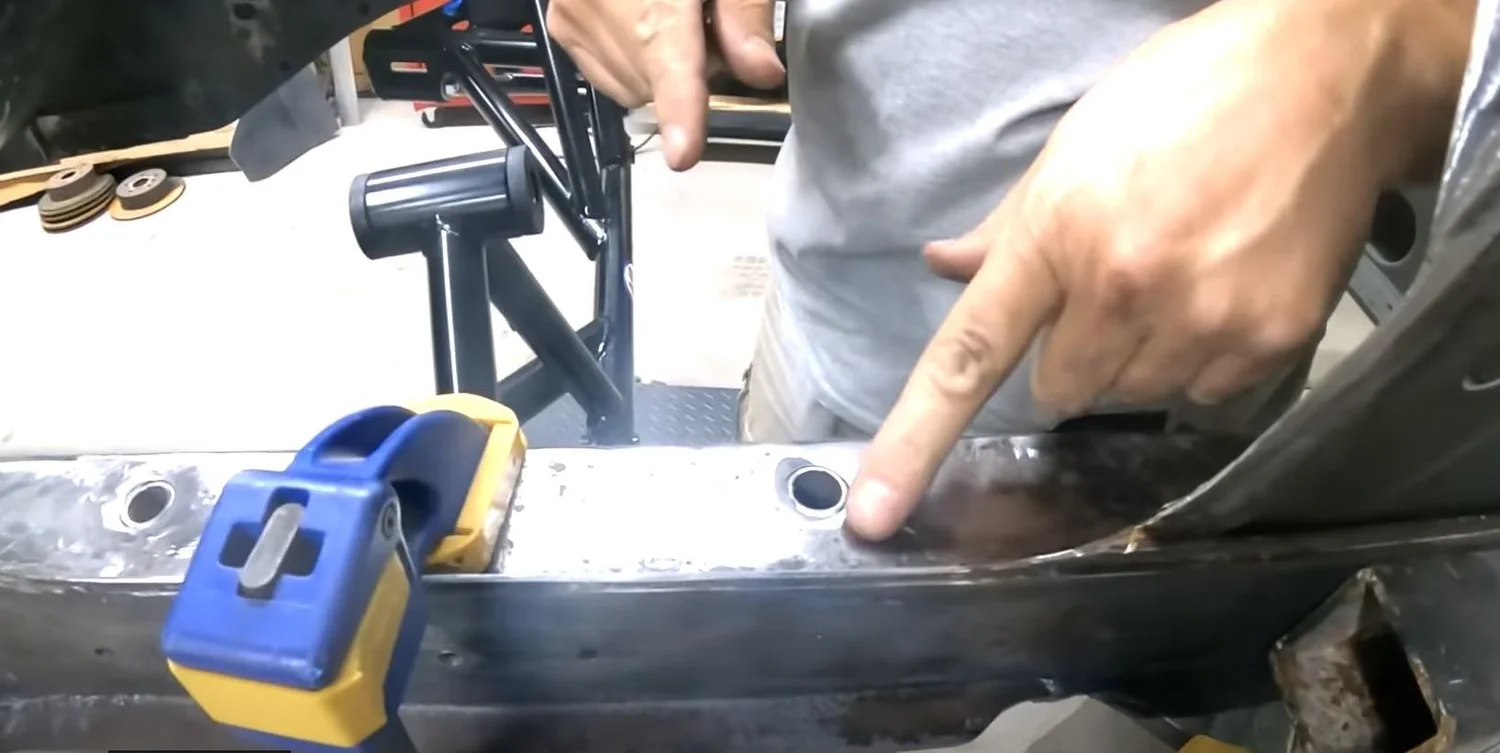
*Helpful tip here…these adjustable clamps are gold for this task. Take your time here to center it.

Next grab a 1/2″ drill bit and drill a hole from bottom of the frame to top of the frame. It’s good to have another set of eyes ensuring everything is nice and straight while drilling these.
Then, enlarge the top holes to 3/4”.
Once that’s done you’re ready to drop in the sleeves.
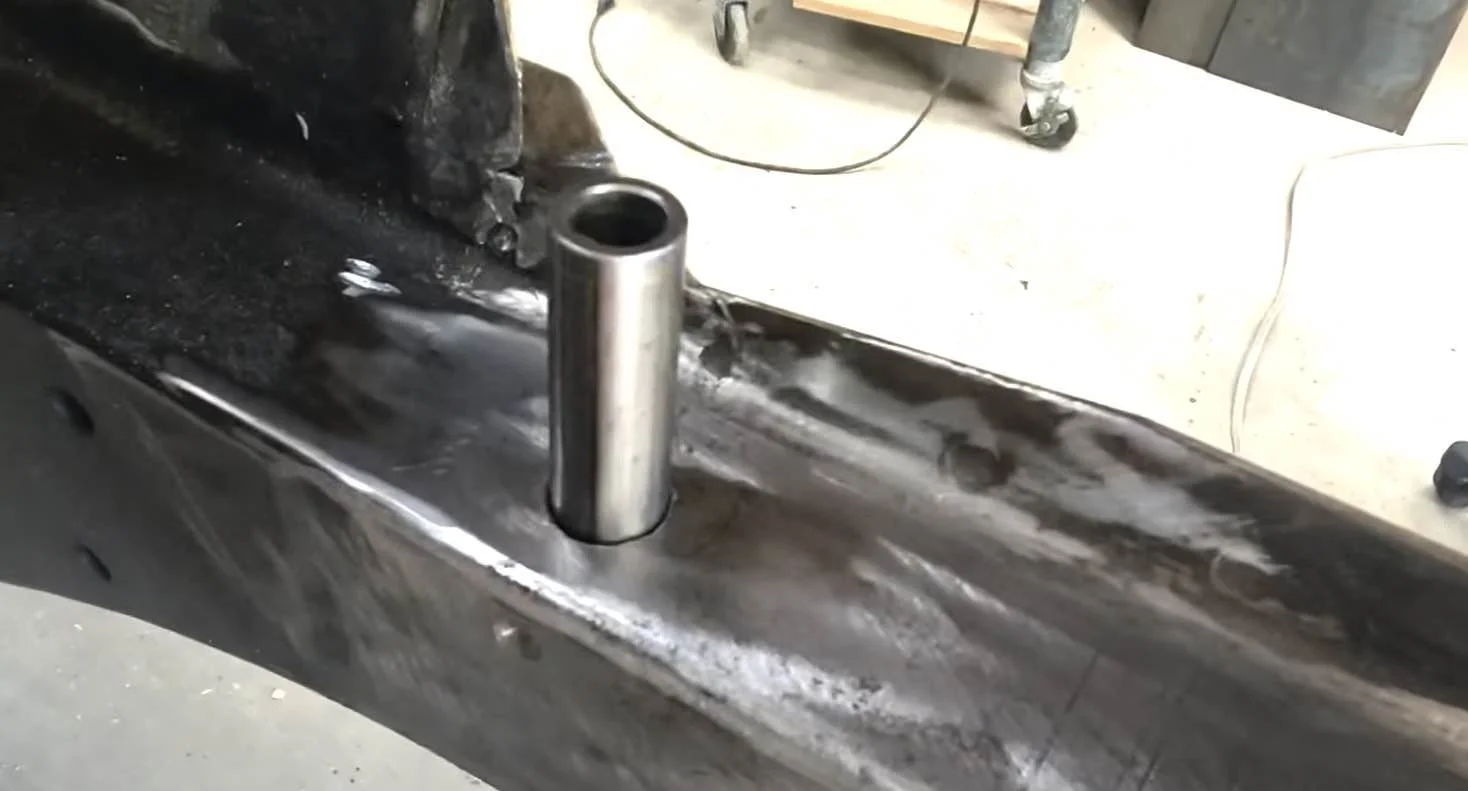
Grind them down.
*Little tip…a little chamfer here doesn’t hurt.
After that, burn in some more metal to lock it all in up top.
Grind it smooth then mock up the k member and get ready to bolt it all up!
STEP 3: ASSEMBLY
Assembly time! For a more detailed look at how we assembled this, check out the links to our SN95 Suspension videos down below.
AND THAT’S IT. WELL, BASICALLY.
Wrap-Up
Now it’s time to hit the road!
But before you hit the road, make sure you double check all the fittings and make sure everything is tightened up. The first drive is always a nerve wracking experience. So just be ready.
And if you’re interested in where this all started, check out these videos in our SN95 Suspension series:
SN95 Suspension Series
PARTS LIST:
street or track export bracing
Nissan Versa Electric steering


