I recently installed a TKX transmission in my 1967 Mustang Coupe to Fastback. When installing a transmission, it’s absolutely important that it’s properly aligned with the engine block, ensuring proper alignment of the input shaft and clutch. Misalignment creates too much stress on the input shaft and can lead to brake, shifter, and transmission issues down the road.
Also, if you don’t properly do this bellhousing alignment procedure, Tremec won’t validate the warranty on your transmission. So getting an accurate indexing is a must!
Today I’m going to share how I was able to get a runout and accurate bellhousing alignment for my new transmission.
This blog is reader supported. As an Amazon affiliate, we may earn a commission from qualifying purchases. Thank you for your support!
How to Verify Proper Bellhousing Alignment
Aligning the bellhousing on a TKX transmission means making sure that the bellhousing is properly centered and aligned with the engine block. This will give you proper alignment of the input shaft and clutch. These are the parts and tools you’ll need and the general steps to follow:
Parts/Tools Used
- Tremec TKX Manual Transmission
- Tremec Aluminum Bellhousing – TKO/500/600/TKX Trans – TCEP8639
- Flywheel (McLeod 463100 Steel SFI Certified 157-Tooth)
- Dial indicator with a magnetic base
- Potentially need: Offset dowel pins: .007 inch pin, .014 inch pin, or .021 inch pin
- marker
Steps to Proper Bellhousing Alignment
Step 1
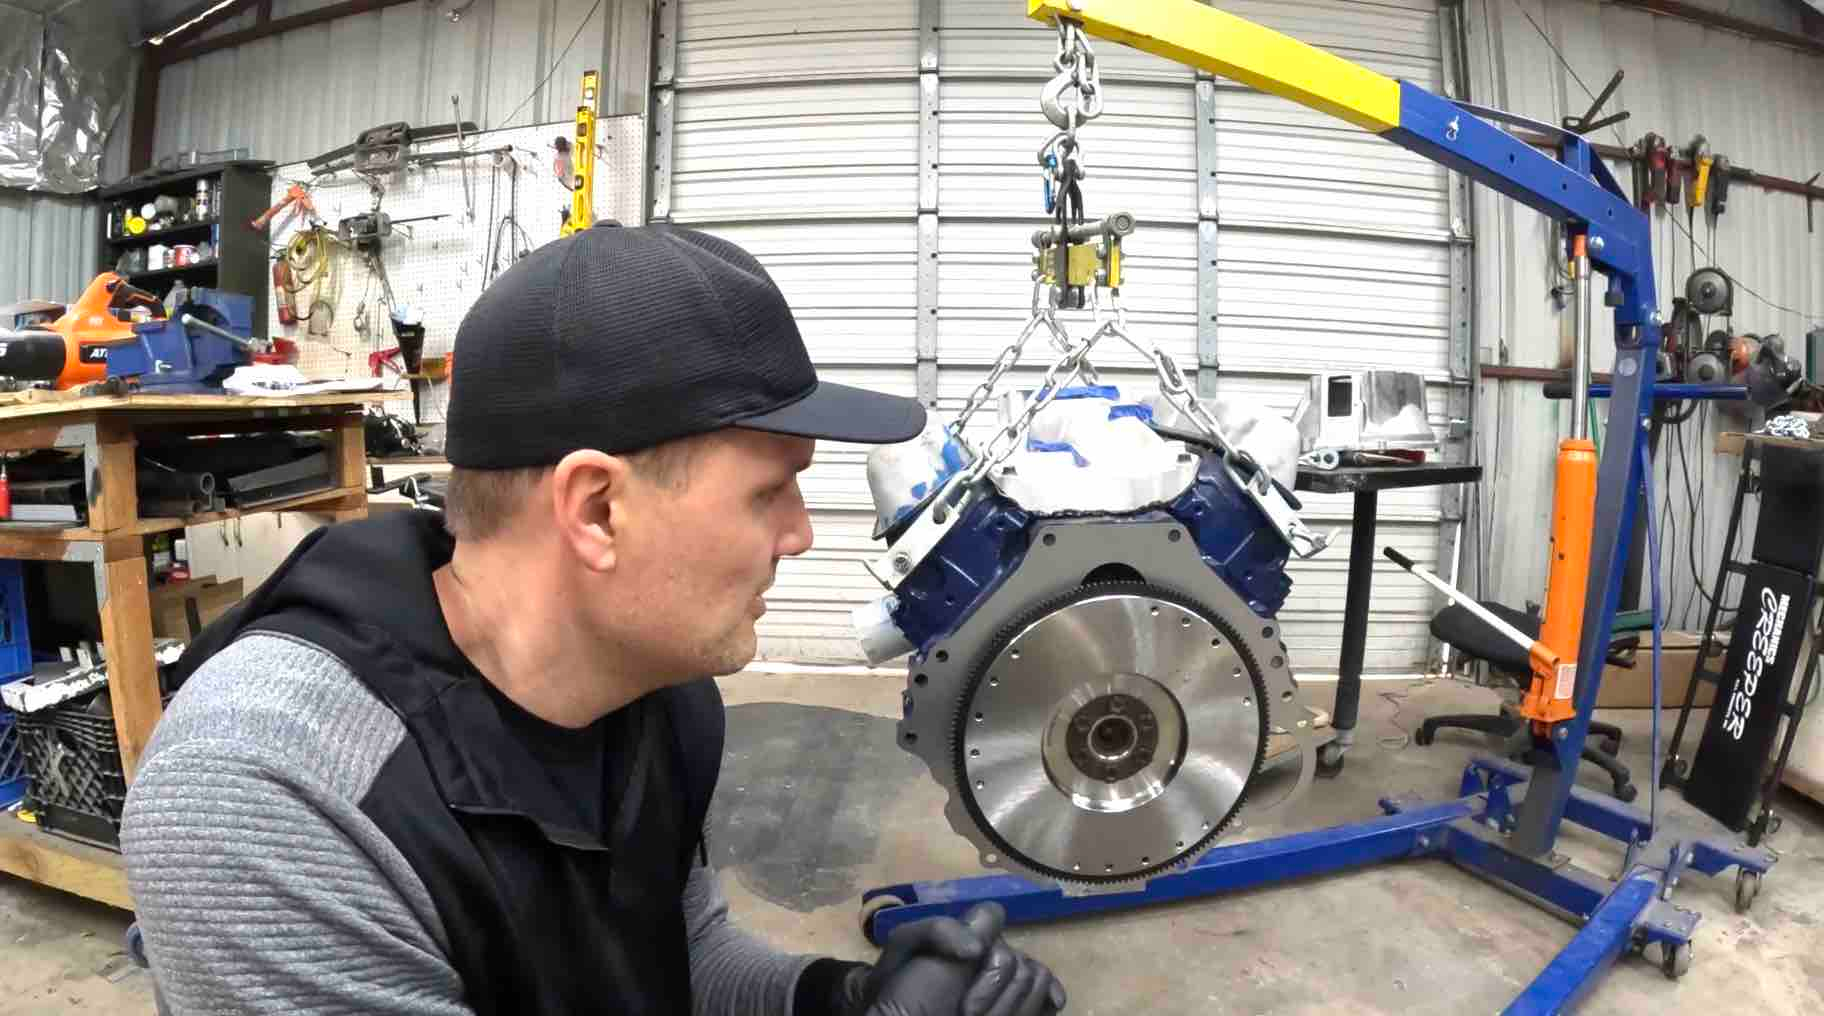
First, make sure the engine is properly supported on an engine hoist.
Step 2
Make sure your flywheel is attached.
Step 3
Install the pilot bearing or bushing at the end of the crankshaft.
Step 4
Slide the transmission input shaft into the pilot bearing or bushing and into the clutch disc.
Step 5
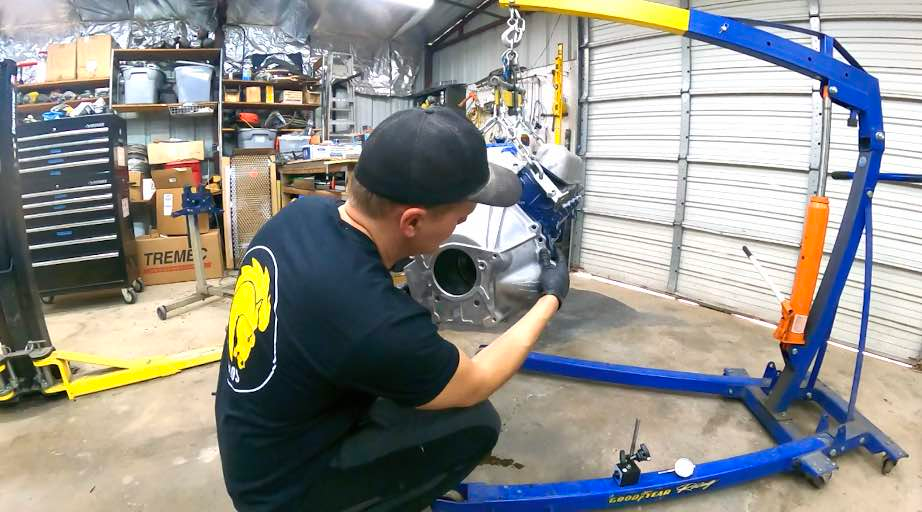
Position the bellhousing onto the engine block and loosely attach it with bolts.
Step 6
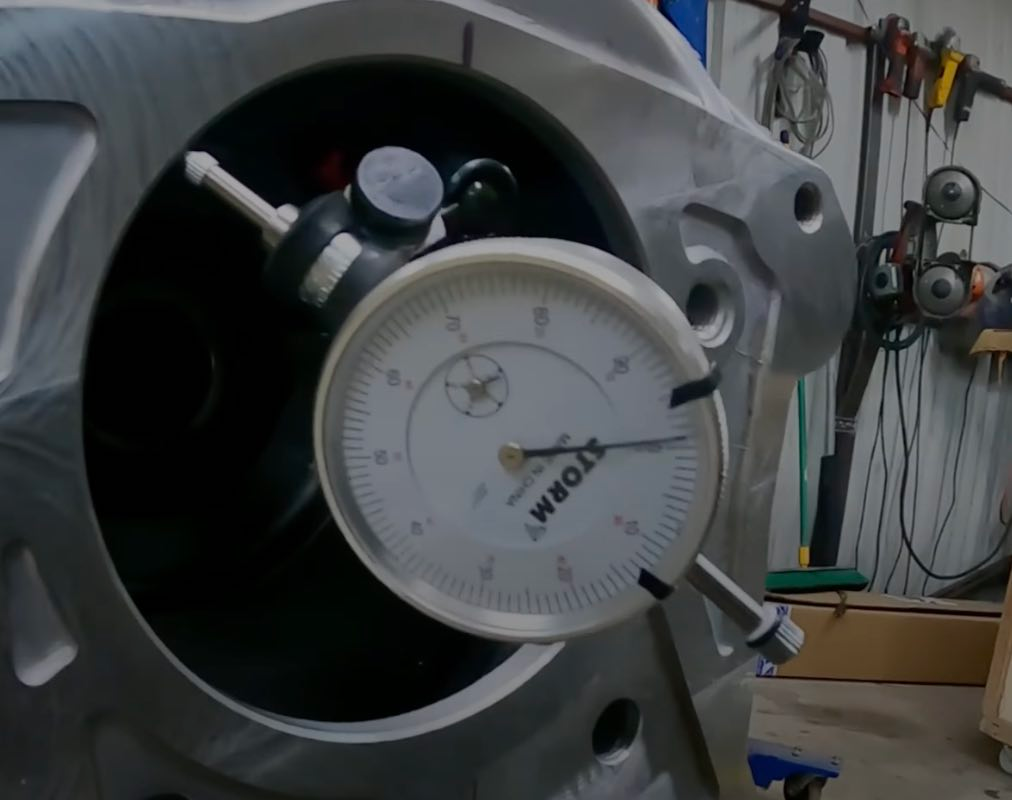
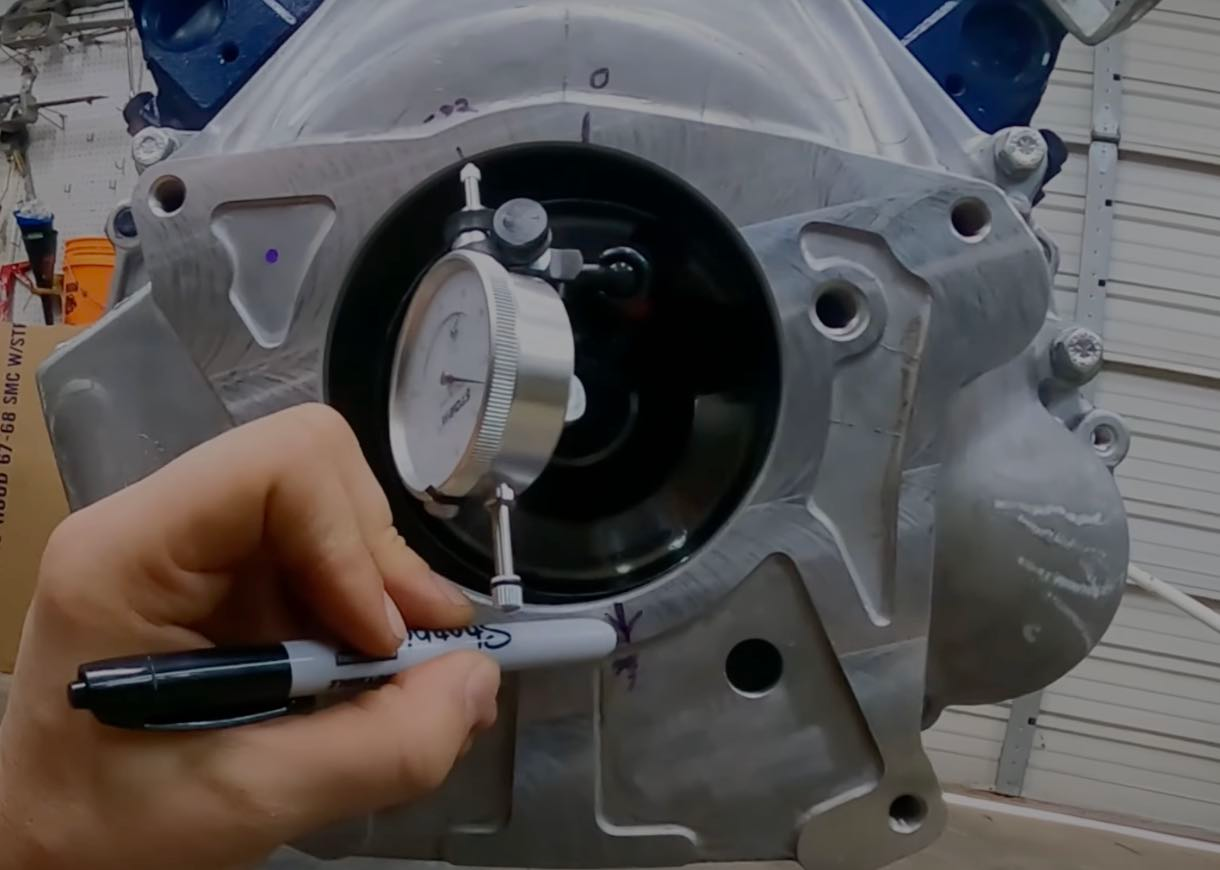
Center the magnetic base and dial indicator on the inside edge of the bellhousing.
Step 7
Mark a reference point on the bellhousing. It doesn’t matter where you make the mark, but this mark is where you need to set your dial indicator reading at zero.
Step 8
You’ll need to have someone available to help you with this step. You’re going to turn the engine to complete a full 360-degree rotation in either a clockwise or counterclockwise direction. Either is fine.
When rotating, you’re going to need someone to first watch for any negative readings. Your lowest spot will be your new zero, so you’ll want to mark that. It’s ok if you don’t have any negative readings. You can keep your initial “zero.”
Step 9
Continue to rotate the dial indicator to find the greatest, positive number. You might need to rotate the engine a couple of times to confirm, and that’s ok. Once you’ve found the greatest, positive number, you should mark this location.
Step 10
Verify that your two marks are 180 degrees apart. If not recheck your low and high points.
Step 11
Next, it’s time to calculate the Total Indicator Runout or TIR.
You’re going to subtract your lowest number from your highest number. Then, take the difference and divide by two.
Step 12
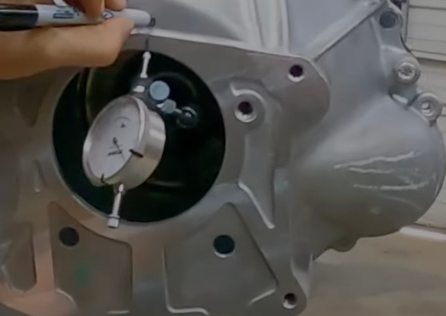
Now it’s time to verify if you’re TIR is within the allowable range.
According to Tremek, your TIR measurement can be no more than .005.” If yours is .005″ or less, you’re good and have completed your bellhousing alignment and are ready to install your transmission.
Wait! What if my runout is more than .0005 inches?
In this case, you’ve got some misalignment going on with your bellhousing. You’ll need to purchase some offset dowel pins, so you can do some adjusting and finish your bellhousing alignment. These are available as a .007″ pin, .014″ pin, and .021″ pin offsets.
In my case, I needed .014″ offset dowel pins.
After I installed the dowel pins, I ran the runout again. This time the TIR was within Tremek’s specs, and I was able to get my TKX warranty validated.
Watch For More
If you want to see more about how I completed my bellhousing alignment and installed the transmission, you can watch that below, or check out my other Follow the Builds vids on my YouTube Channel


